

Hello all! Before I get into my Henna Hair dye experience I need to set the scene....
So too begin, I am a natural red head/ginger and had varying shades of ginger hair throughout my childhood, It would get blond highlights in the summer and darken in winter. When I was 16 I worked in a salon and went through several different colours from the ages of 16 to 20, I was able to pull off blond, brown and red.
Then I wanted to embrace my natural hair colour so used hair colour remover and have pretty much had the same natural colour for the past 3 years. I went to get my hair permed about 2 months ago and that removed some more hair colour but for the most part my hair has been a gingery strawberry blond.
I was then asked to dye my hair with Caca Rouge Henna hair dye from Lush for a show I was in but as I had not dyed my hair for some years I lost my knowledge and ended up with uneven colour in my hair. It wasn't noticeable to anyone but myself, although I also felt the colour was too orange so I went and bought Caca Rouge and Caca Marron and decided to try adding Blackcurrent and Apple tea instead of plain boiling water to see if that would add another element to the red.
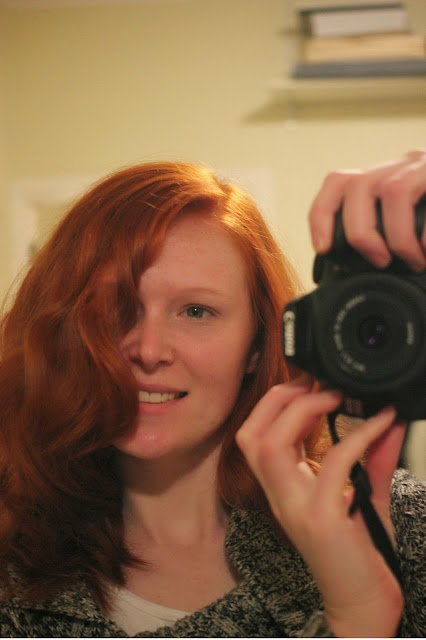
Here is my hair before adding the new batch of Henna:


You can see its Orange/Red on top but more my natural ginger underneath, So I hope my hair turns this sort of shade all over:
 |
| I think I just secretly want to be Christina Hendricks |
Here are my instructions:
 |
| Step One: Boil the water and use approx 4 tea bags |
 |
| Step Two: Take two squares from each Caca Block |
 |
| Step Three: Put in a glass bowl like the one pictured. |
 |
| Step Four: Add Tea to the blocks and start to stir and dissolve the blocks. |
 |
| Step Five: Lay down a sheet! It will get very messy |
Once you've applied the henna you must leave it on for at least 2 and a half hours to get a really rich and beautiful colour. Some people leave it on for 6 hours while others 45 minutes (like one particular friend of mine) I left this on for 3 and a half hours and only after I took a strand and rinsed it to see what colour it was.
Now for the final result.....


These photos do not show the hair to its full potential but do give you an idea of what you are getting yourself in for. I will warn you that its most definitely adviseable to be prepared for an intense Orange Red so if you don't pull off warm tones you will not suit this colour.
This final photo is to show the colour it was before I applied the first coat of hair dye and I am soooooo pleased I decided to use the henna. My natural colour was an orange based red so this is way more preferable to the blue based reds you can buy at the pharmacy and supermarket.
